
It’s time to get practical people!
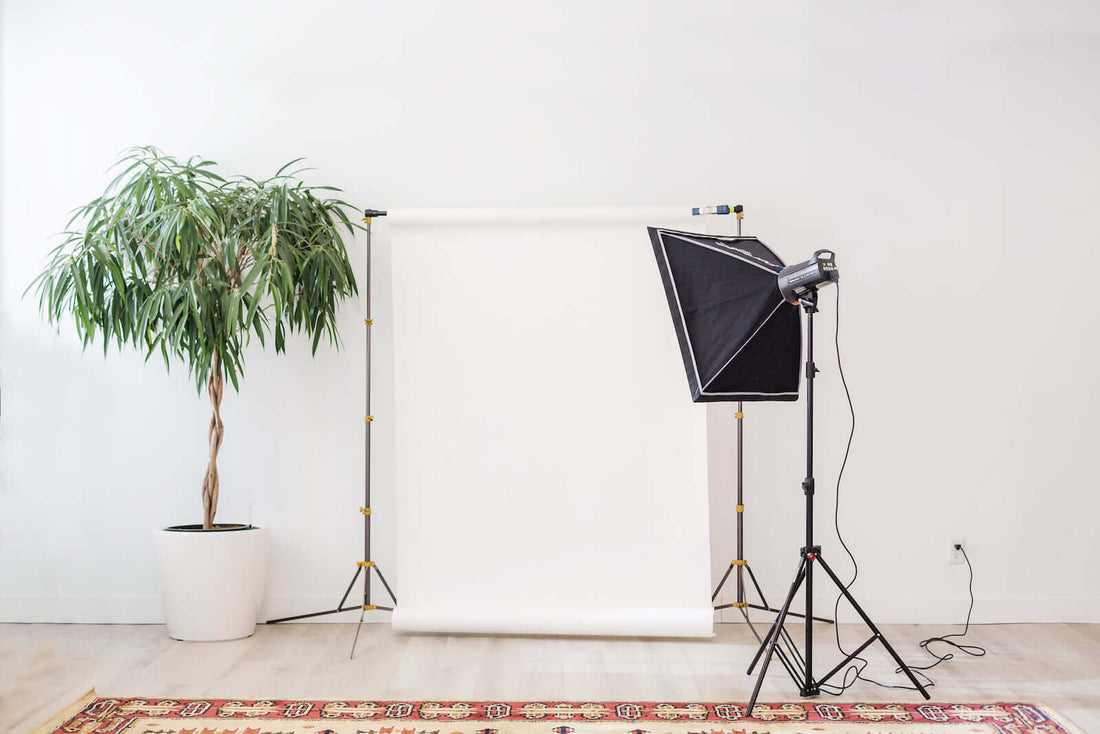
If you have the budget and time to contract professional product photography, great. But most ecommerce small businesses and solopreneurs use product images provided by suppliers and manufacturers or shoot them using digital cameras or their smartphones.
You can get ecommerce-ready images directly from your product supplier, but in our experience, this is highly uncommon. Even when they are “Shopify theme ready,” are they really?
This article is about fixing all of that. We’ll start by discussing the quick and easy edits anyone can make, and then we’ll show before and after images to prove our points.
Fast and easy edits that make ecommerce products pop
There are many blogs out there about how to shoot the perfect photo. There’s advice about using filters, picking the right lens, and achieving the perfect lighting. There are long, authoritative blogs on backdrops, staging, positioning, and using green screens. And there are details on preparing your product – steaming wrinkles, waxing surfaces, and displaying at the perfect angles.
And you’re supposed to do every single one of these things. And that’s just what happens before you take the shot, let alone all of the editing afterward.
So since that’s probably not going to happen, what do you do to make the images you take yourself (or get from your supplier) as stunning as possible while staying practical simultaneously?
No matter where your images come from, you can improve them by thinking about three things:
- Shape
- Size
- Color
Shape – square is the new black
Displaying rectangle images on rectangle screens “sounds” like a great idea. But it’s a terrible idea if you want people to see the image AND do something else. Like, let’s say, read a product description or click an “Add to Cart” button?
If you use rectangle product photos, when someone is holding their smartphone or tablet in landscape mode, it will take up the whole screen. If they have it in portrait mode, it will get really small, and they won’t see the details. And then there is how it will look on social media.

And there is one more reason to make all your product images square. Suppose you have collection pages in your Shopify store’s theme that display your products side-by-side. In that case, they will display in different, inconsistent sizes UNLESS all your photos are trimmed to the same aspect ratio. In other words, if all your photos are square, they will all line up perfectly side-by-side on those pages.
This doesn’t just ensure a good-looking page, it looks more professional and clean, and that builds consumer confidence. (And if your store doesn’t display images beautifully, then it’s time that you do some Shopify theme customization to make sure it’s giving your products the attention they deserve!)
So there are three GREAT reasons to ensure that all of your product images are square-shaped:
- It allows your products to be displayed as large as possible on the widest variety of screens while still showing text and calls to action.
- It allows your products to be instantly shared across ALL social media platforms without re-editing.
- A disciplined aspect ratio makes all product images line up perfectly in your Shopify theme.
You are going to have to do some cropping. But the good news is that you likely have basic photo cropping tools built into your computer. Start by squaring everything up.
Size matters — a lot
Now that you have a square photo, let’s talk about size. When it comes to image size, we are faced with a seemingly irresolvable paradox:
- The higher the resolution and larger the size, the better the image. The better the image, the better the product looks. The better it looks, the more it sells.
- The #1 reason customers bail out of an online purchase is slow page-load speed. High-resolution images are – by definition – freaking huge. And we online merchants have ZERO control over a customer’s internet connection speed or the quality of their cell phone data plan.
This means that the world’s highest, best quality, most perfect product photo will never get seen as the customer becomes bored waiting for the download to finish. The solution is to optimize for size and resolution with the device and format in mind.
Viva la resolution
I edit dozens of photos every week from photographers, stock photo services, my own camera, and merchants too. They come in every size and resolution imaginable, but when I’m done with them, they are all either 4” x 4” or 5” x 5” and 150 dots per inch (dpi) resolution.
If customers are more likely to view images on a laptop or desktop pc, I use 5” x 5”. If they are more likely to view them on tablets or smartphones, I use 4” x 4”. The truth is that when the products appear in your Shopify store they will usually display even smaller than that. But these sizes allow customers to zoom in a bit if they want to.
Some quick math:
- A 4” x 4” image at 150 dpi is 600 px x 600 px. That’s spot on perfect for your shop, social media, AND for including in email campaigns via services like MailChimp.
- A 5” x 5” image at 150 dpi is 750 px x 750 px – still great and within the limits of 98% of email boxes. This is my go-to format.
You “can” make edits like this inside Shopify. I say, don’t. But you don’t need Adobe Photoshop either — nearly every computer has basic photo editing built in.
[Remember to NEVER EDIT ORIGINAL IMAGES – you might need them for something else in the future. Save originals in one file, then create a copy and edit that for posting.]

Who’s afraid of a little “enhancement”?
Most of the time, you will make photos smaller than they once were, and then they will display a little smaller than that on your product pages. When you “shrink” an image like that, two things happen:
- Color saturation is muted by a bit.
- Edges can lose their sharpness.
Whatever program you use to resize the image can likely do this, but you can also use a mobile app. I have a handful of different photo editing apps on my iPad Pro and iPhone at all times.
At a minimum, you want to increase sharpness AND color saturation by about 10%. From there, I like my images crisp when viewed on mobile devices, so increasing sharpness by 20% is not unusual. But some prefer images that appear slightly “softer,” so 10% is usually more than enough.
Another huge advantage of this kind of photo editing is that it can make all your product images feel more homogenous. In other words, it looks like one photographer took every shot because the photos “feel” similar.

In a nutshell
Notice that nowhere in this article did I say, “spend a bunch of money.” Maybe someday your business will grow to the point that you can pay for perfect professional photography and digital editing services, but 99.9% of the time, I just don’t think you have to.
Sticking to the basics and editing your photos’ shape, size, and color to align with modern ecommerce design will take you a long, long way.
Shopify ecommerce product photo samples
This image was produced by a professional photographer, and he was paid for the license via Getty Images. I will start with the two “AFTER” images because they are so well-optimized that they’ll load on your screen quickly. The edits took less than 1 minute each because I have done it a thousand times. Your first crack at it will take longer until you get used to it.
The last image is the “BEFORE” image, and it meets all the uploading requirements of Shopify – you “could” simply use it as it is – but why would you?
AFTER 1 specs (my personal favorite):
- Dimensions = 750 px x 750 px / 5” x 5”
- Resolution = 150 dpi
- Size = 344 KB (fifteen times SMALLER than the original image)

AFTER 2 specs:
- Dimensions = 600 px x 600 px / 4” x 4”
- Resolution = 150 dpi
- Size = 233 KB (twenty-two times SMALLER than the original image)

BEFORE (original) specs:
- Dimensions = 4472 px x 3419 px / 14.91” x 11.4”
- Resolution = 300 dpi
- Size = 5.2 MB

Thanks for reading.